Local Businesses Blog in Texas

Tag: garage door repair Colleyville TX

Who Fixes Garage Doors – Colleyville Gates & Garage Doors

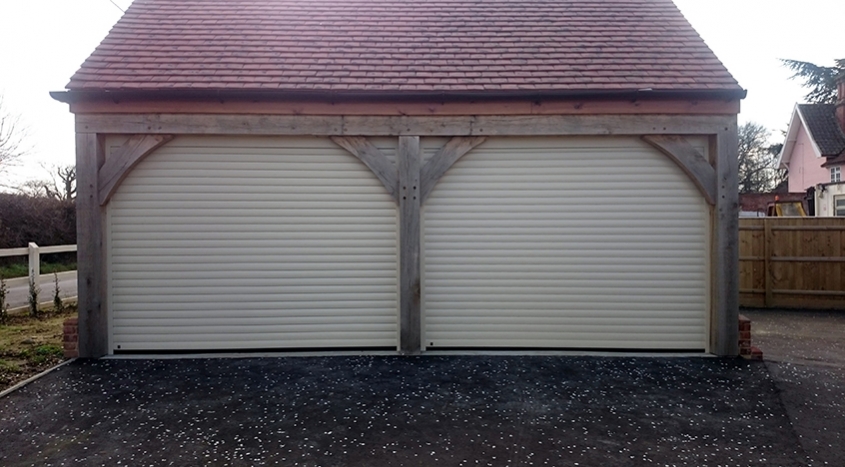
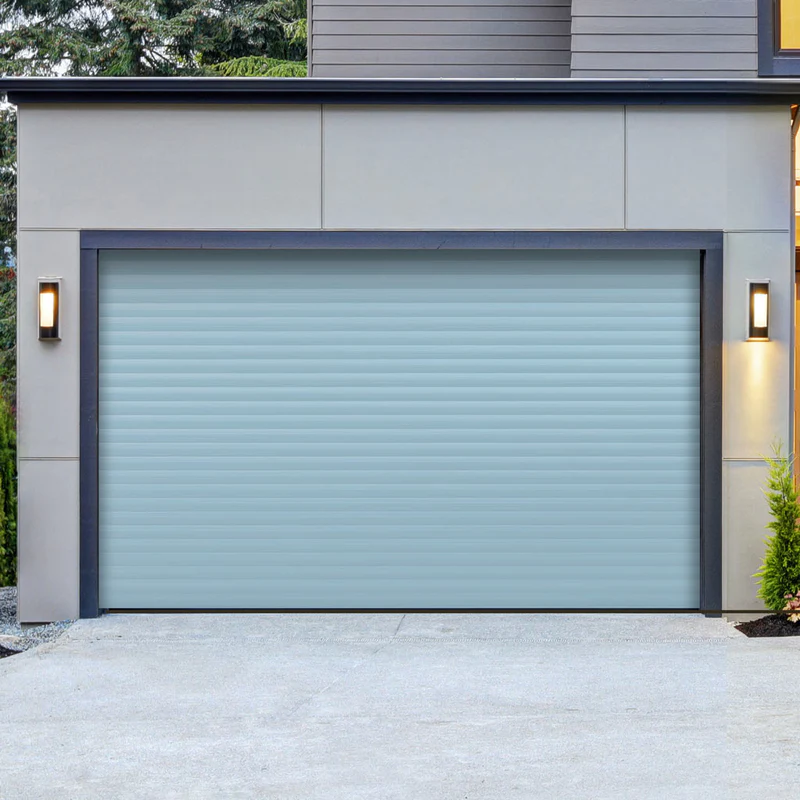
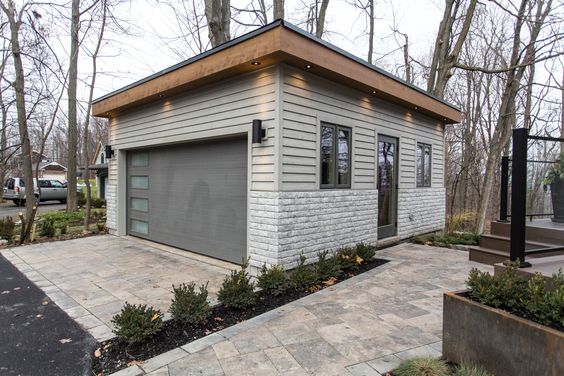
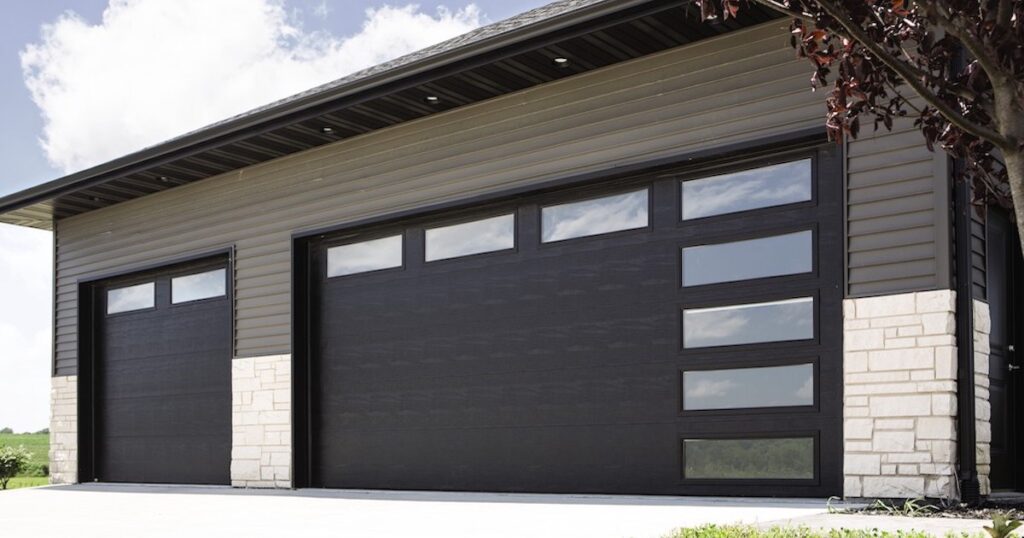
Colleyville Garage Door Repair, those often-underappreciated yet essential components of our homes, serve as both a functional and aesthetic element.

When these mechanical marvels decide to act up, it’s time to call in the experts—garage door repair professionals. These skilled individuals possess the knowledge and expertise to tackle a myriad of issues that may plague your garage door, ensuring it operates seamlessly once again.

One of the primary concerns that prompt homeowners to seek the services of garage door repair specialists is malfunctioning or damaged components. Whether it’s a misaligned track, a faulty spring, or a problematic opener, these professionals are well-versed in the intricate workings of garage doors. They embark on the task armed with a toolbox filled with precision instruments, ready to diagnose and rectify any issues that may be hindering the smooth operation of your garage door.

One crucial aspect of garage door repair is the inspection and maintenance of springs. These coiled wonders bear the weight of the door and counterbalance its movement, playing a pivotal role in the overall functionality. Repairing or replacing garage door springs demands a keen understanding of tension and mechanics—a job best left to those who specialize in such intricacies. A seasoned garage door repair technician can identify whether it’s the torsion or extension springs that require attention and execute the necessary repairs with finesse.

The electronic heart of your garage door system is the opener. When this vital component malfunctions, it can bring your daily routine to a grinding halt. Garage door repair professionals are well-versed in troubleshooting and repairing openers, be it a chain-drive, belt-drive, or screw-drive system. They delve into the circuitry, address electrical issues, or replace components as needed, ensuring that your garage door opens and closes at the push of a button.

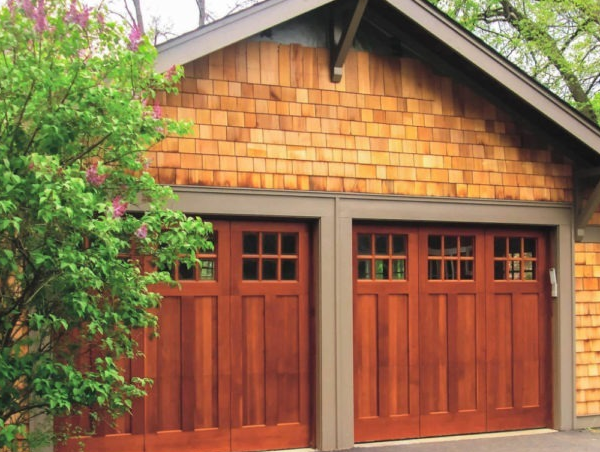
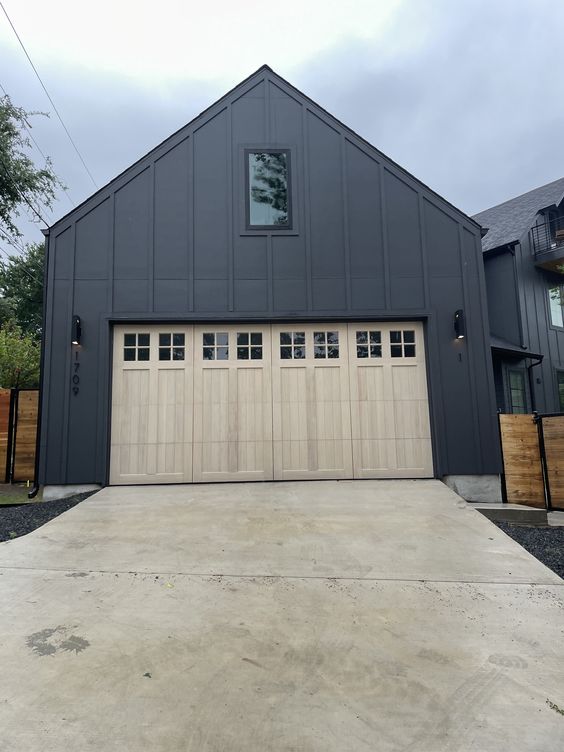
Beyond mechanical components, garage door aesthetics also fall within the purview of repair experts. If your door has suffered cosmetic damage, whether it’s dents, scratches, or other blemishes, these professionals possess the skills to restore its visual appeal. Some even offer repainting or refinishing services, leaving your garage door looking as good as new.

The safety aspect of garage door repair cannot be overstated. A malfunctioning garage door can pose a significant risk to both life and property. Repair technicians prioritize safety, conducting thorough inspections to identify potential hazards. From sensor calibration to ensuring proper emergency release functionality, these experts leave no stone unturned in guaranteeing that your garage door meets the highest safety standards.

In the realm of garage door repair, preventative measures are just as crucial as responsive solutions. Many professionals offer routine maintenance services to keep your garage door in top-notch condition. This proactive approach involves lubricating moving parts, tightening loose bolts, and conducting a comprehensive checkup to catch potential issues before they escalate.

When it comes to fixing garage doors, the best in the business combine technical expertise with a commitment to customer service. They arrive promptly, equipped with the necessary tools and parts, ready to tackle any challenge your garage door presents. Moreover, reputable repair services often offer warranties on their work, providing peace of mind and assurance that your garage door will continue to function seamlessly long after the repair is complete.

In conclusion, the intricate dance of springs, tracks, and openers that constitutes a Colleyville Garage Door Repair demands the attention of skilled professionals when issues arise. Whether it’s a mechanical malfunction or a cosmetic concern, garage door repair specialists bring a blend of technical prowess and customer-centric service to ensure that your garage door remains a reliable and safe part of your home.

Colleyville Gates & Garage Doors

6508 Colleyville Blvd Colleyville, TX, 76034

817-755-6231

How To Remove A Liftmaster Garage Door Opener – Colleyville Gates & Garage Doors

Removing a LiftMaster Colleyville Garage Door Repair involves a series of steps that should be approached with caution to ensure safety and proper disassembly.

Follow these detailed instructions to successfully remove your LiftMaster garage door opener:

1. Gather Necessary Tools: Before starting, gather the required tools: a ladder, screwdrivers (flathead and Phillips), pliers, adjustable wrench, and safety gloves.

2. Power Off: Disconnect the power to the garage door opener. Locate the power cord or turn off the circuit breaker dedicated to the garage door opener.

3. Identify Components: Familiarize yourself with the different components of the garage door opener, including the motor unit, rail, trolley, and connection brackets.

4. Disconnect Door Arm: Using a wrench or pliers, disconnect the door arm from the trolley. This is typically a simple pin or clevis that can be removed.

5. Unplug Control Unit: Unplug any control unit or wall console connected to the opener.

6. Remove Safety Sensors: If your garage door opener has safety sensors, disconnect them. These are usually located near the floor on either side of the garage door. Detach the sensor units from their brackets.

7. Loosen the Trolley: Loosen the trolley from the rail by removing the bolts or retaining clips. This allows the trolley to move freely on the rail.

8. Slide Trolley to the Motor Unit: Slide the trolley towards the motor unit until it is close enough to access the attachment points.

9. Disconnect Trolley from Motor Unit: Using a screwdriver, disconnect the trolley from the motor unit. This is typically done by removing pins or clips securing the trolley to the motor.

10. Remove Motor Unit: Carefully detach the motor unit from its mounting brackets. Depending on the model, there may be screws or bolts securing it in place.

11. Detach Mounting Brackets: Remove the mounting brackets from the ceiling or wall. Use a screwdriver to remove any screws securing the brackets.

12. Lower the Rail: If necessary, lower the rail by removing any remaining screws or bolts securing it to the ceiling. Exercise caution to avoid injury during this step.

13. Disconnect Power Wiring: If there are any electrical wires connecting the opener to the power source, disconnect them. Ensure all electrical connections are safely disconnected.

14. Remove Rail and Trolley: Take down the rail and trolley from their respective positions. These may be connected by a chain or belt drive.

15. Check for Remaining Attachments: Inspect the ceiling or wall for any remaining brackets, screws, or other attachments. Remove them to ensure a complete disassembly.

16. Dispose of Components: Dispose of the removed components responsibly, following local regulations for electronic waste.

By following these steps meticulously, you should be able to successfully remove your LiftMaster Colleyville Garage Door Repair. If you encounter any difficulties or uncertainties, consult the manufacturer’s manual or seek professional assistance to ensure a safe and efficient removal process.

Colleyville Gates & Garage Doors

817-755-6231

How To Fix A Broken Garage Door – Colleyville Gates & Garage Doors

Your Garage Door Repair Colleyville TX might be the unsung hero of your home, faithfully opening and closing on demand.

However, when it starts acting up, it can quickly become a source of frustration. Understanding how to diagnose and fix common garage door issues can save you time and money.

Understanding the Problem

Before you roll up your sleeves, it’s crucial to grasp the nature of the problem. Is it a mechanical glitch, an electrical issue, or a combination of both? Identifying the root cause will guide your repair process.

Safety First:

Safety is paramount when dealing with garage door repairs. Gather the necessary tools and protective gear before starting. A well-prepared workspace ensures a smoother repair process.

Diagnosing the Issue

Begin by observing your garage door’s behavior. Is it stuck, making unusual noises, or showing signs of imbalance? Pinpointing the problem will help you apply the right fix.

Common Garage Door Problems

Explore the typical issues homeowners face, such as uneven movement, strange noises, or problems with the opener. Understanding the symptoms narrows down the possible solutions.

Step-by-Step Repair Guide

Now, let’s dive into the nitty-gritty of fixing your garage door. From lubricating moving parts to adjusting spring tension, we’ll cover each step in detail.

When to Call a Professional

While DIY repairs can be satisfying, there are instances where professional help is necessary. Learn to recognize when it’s time to bring in the experts.

Preventive Maintenance Tips

Keep your garage door in top condition by following a routine maintenance schedule. From regular inspections to lubrication, these simple tasks can prevent future issues.

Upgrading Your Garage Door

Explore modern features that enhance convenience and safety. From smart technologies to energy-efficient options, discover ways to upgrade your garage door.

. Professional Repairs

Deciding whether to fix the issue yourself or call a professional? Weigh the pros and cons of each option to make an informed choice.

Cost Estimates for Garage Door Repairs

Get an idea of the costs involved in garage door repairs. Whether you’re on a budget or looking for premium solutions, we’ve got you covered.

Common Mistakes to Avoid

Learn from the mistakes of others. Avoid common pitfalls during DIY repairs, and ensure you choose the right parts and tools for the job.

Success Stories:

Read real-life accounts of individuals who successfully repaired their garage doors. Gain insights from their experiences and apply them to your own situation.

Conclusion:

Fixing a broken Garage Door Repair Colleyville TX may seem daunting, but armed with the right knowledge, it’s a manageable task. Regular maintenance and prompt repairs can extend the life of your garage door, ensuring it continues to serve you faithfully.

Colleyville Gates & Garage Doors

817-755-6231

Questions to Ask Before Hiring a Garage Door Repair Technician – Colleyville Gates & Garage Doors

As a homeowner, I’ve experienced my fair share of unexpected challenges around the house. One day, I encountered a situation that left me momentarily puzzled and frustrated—the garage door refused to open. It was a situation that demanded immediate attention, and the solution lay in a small but critical component: the emergency release cord.

In this article, I’ll share my experience and guide you through the process of releasing a stuck garage door emergency release cord step by step according to Colleyville Gates & Garage Doors.

Understanding the Emergency Release Cord

Before diving into the steps to release a stuck garage door emergency release cord, it’s essential to understand the purpose of this mechanism. The emergency release cord is a safety feature designed to manually disengage the garage door opener from the door itself. In the event of a power outage or a malfunction of the opener, this cord allows you to open or close the garage door manually.

The emergency release cord is typically a red rope or handle hanging from the garage door opener track or carriage. Pulling this cord disconnects the opener from the door, allowing you to operate the door manually. However, when this cord becomes stuck, it can pose a frustrating challenge.

Step-by-Step Guide to Release a Stuck Garage Door Emergency Release Cord

1. Ensure Safety First:

Before attempting any repairs or adjustments, it’s essential to prioritize safety. Make sure the area around the garage door is clear of obstacles, and keep people and pets away from the door during the process.

2. Locate the Emergency Release Cord:

Identify the emergency release cord, which is typically a red rope or handle hanging from the garage door opener track or carriage. It may be positioned close to the door or higher up on the track, depending on the opener’s design.

3. Verify the Door’s Position:

Check whether the garage door is in the fully closed position. Attempting to release the emergency cord while the door is partially open or in an awkward position can be hazardous.

4. Disconnect the Opener:

To release the garage door opener from the door, firmly grip the emergency release cord and pull it down and toward the door. This action should disconnect the opener’s carriage or trolley from the door’s carriage or arm.

5. Test the Manual Operation:

Once you’ve pulled the emergency release cord, gently attempt to lift or lower the garage door by hand. It should move freely along the tracks without resistance. If you encounter difficulty or the door remains stuck, proceed to the next steps.

6. Inspect for Obstructions:

Check the tracks, rollers, and hinges for any obstructions or debris that may be impeding the door’s movement. Remove any visible debris, as this may resolve the issue.

7. Lubricate Moving Parts:

Apply a silicone-based lubricant to the rollers, hinges, and track to ensure smooth operation. Lubrication can often resolve minor issues causing the door to stick.

8. Check for Broken Springs:

Inspect the garage door springs for signs of damage or breakage. If you notice a broken spring, it’s crucial to refrain from attempting to operate the door manually, as it can be extremely dangerous. In such cases, seek professional assistance for spring replacement.

9. Examine the Emergency Release Mechanism:

Inspect the emergency release cord and its mechanism for any visible damage, such as fraying or disconnection. If you notice issues with the cord itself, it may need to be replaced.

10. Verify the Opener’s Functionality:

Once you’ve inspected the emergency release cord and addressed any potential obstructions or issues, reattach it to the opener’s carriage or trolley. You can do this by pulling the cord toward the opener and securing it in place.

11. Reconnect the Opener:

After ensuring that the emergency release cord is properly reattached, test the garage door opener by operating it using the remote control or wall-mounted button. The opener should now function as expected, allowing you to open and close the door automatically.

Common Reasons for a Stuck Emergency Release Cord

Understanding the underlying causes of a stuck emergency release cord can help you prevent similar issues in the future. Here are some common reasons why the emergency release cord may become stuck:

1. Rust or Corrosion:

Over time, the components of the emergency release mechanism, including the cord and the connecting parts, may become rusted or corroded. This can impede the smooth operation of the cord.

2. Misalignment:

Misalignment of the garage door or the opener’s carriage can cause the emergency release cord to become jammed. Ensuring proper alignment is crucial for smooth operation.

3. Obstructions:

Debris, dirt, or objects in the garage door tracks or along the path of the door can hinder the movement of the emergency release cord.

4. Cable or Spring Issues:

Issues with the garage door cables or springs can also affect the operation of the emergency release cord. Broken or damaged cables or springs may prevent the door from moving freely.

When to Seek Professional Assistance

While the steps outlined above can help you release a stuck garage door emergency release cord in many cases, there are situations where it’s best to seek professional assistance. Here are some scenarios where professional help is warranted:

1. Broken Springs:

If you suspect or confirm that the garage door springs are broken or damaged, it’s crucial to avoid any attempts at manual operation. Garage door spring replacement is a complex and hazardous task that should only be handled by experienced professionals.

2. Electrical Issues:

If the garage door opener is experiencing electrical or wiring problems, it’s advisable to have a qualified technician diagnose and repair the issue. Tampering with electrical components without the necessary expertise can be dangerous.

3. Persistent Stuck Door:

If you’ve followed the steps to release the emergency cord, addressed potential obstructions, and the door remains stuck or difficult to operate manually, it’s time to call a professional. There may be underlying issues with the door’s mechanics that require expert assessment and repair.

4. Safety Concerns:

If at any point you feel unsure or unsafe during the process of releasing the emergency cord or troubleshooting the door, do not hesitate to seek professional help. Safety should always be the top priority.

Conclusion: A Handy Skill for Homeowners

Overall, as per Colleyville Gates & Garage Doors, releasing a stuck garage door emergency release cord is a valuable skill for homeowners to have in their repertoire. With the right knowledge and a step-by-step approach, you can address common issues and restore the functionality of your garage door. However, it’s essential to exercise caution, prioritize safety, and seek professional assistance when needed, especially when dealing with complex mechanical or electrical problems. By understanding the operation of your garage door and the emergency release mechanism, you can ensure that your garage remains a convenient and secure part of your home.

Colleyville Gates & Garage Doors

6508 Colleyville Blvd, Colleyville, TX 76034, United States

817-755-6231

How to Replace Old Style Garage Door Springs – Colleyville Gates & Garage Doors

Garage Door Repair Colleyville TX springs play a crucial role in the smooth operation of your garage door. If you have an older garage door with extension springs, it may be time to replace them to ensure safety and functionality. This step-by-step guide will walk you through the process of replacing old-style garage door springs. While this task requires some mechanical skill and caution, with the right tools and knowledge, you can successfully complete the job and enjoy a well-functioning garage door.

Tools and Materials : Before you start, gather the necessary tools and materials:

  1. Safety glasses and gloves
  2. Wrenches and pliers
  3. C-clamps
  4. Vice grips
  5. A winding bar
  6. New extension springs
  7. A ladder
  8. A friend or helper (for safety)

Safety First : Safety is paramount when dealing with garage door springs. Start by disconnecting the power to your garage door opener. Put on safety glasses and gloves, and make sure to follow these precautions:

  1. Keep children and pets away from the work area.
  2. Ensure that your ladder is stable and on a level surface.
  3. Work slowly and methodically, and do not rush any step.

Removing the Old Springs :

  1. Locate the extension springs on both sides of your garage door, near the upper tracks.
  2. Use C-clamps or vice grips to secure the door in the closed position. This prevents it from accidentally opening while you’re working on it.
  3. With the door secured, use a wrench to disconnect the safety cables from the old springs. These cables run through the springs and provide extra security.
  4. Carefully use pliers to disconnect the springs from the brackets or pulleys. Be cautious, as these springs are under tension and can snap if mishandled.
  5. Once both old springs are disconnected, you can remove them from the brackets.

Installing New Springs :

  1. Measure the length of your old springs and purchase new ones of the same size and weight capacity. Make sure to buy high-quality springs designed for your specific door type and size.
  2. Attach the new springs to the brackets or pulleys on both sides of the door.
  3. Thread the safety cables through the new springs, ensuring they are securely attached.
  4. Carefully remove the clamps or vice grips from the door, allowing it to rest on the new springs.
  5. Using a winding bar, slowly tighten the springs by turning them in a clockwise direction. Be cautious and follow the manufacturer’s recommendations for the number of turns required. This step requires precision, so take your time.

Testing and Adjustment :

  1. After winding the springs, test the door by manually lifting it. It should open and close smoothly without any jerking or imbalance. If there are issues, adjust the spring tension accordingly.
  2. If the door operates correctly, reconnect the power to your garage door opener.
  3. Test the door with the opener to ensure it functions properly. If you notice any unusual noises or imbalances, stop the operation immediately and make necessary adjustments.

Conclusion:

Replacing old-style Garage Door Repair Colleyville TX springs is a task that requires precision, caution, and the right tools. If you’re unsure about any step or feel uncomfortable with the process, consult a professional technician. Safety should always be your top priority when working with garage door springs. With proper installation, you can enjoy a smoothly functioning garage door for years to come. Regular maintenance and safety checks will help ensure the longevity and safety of your garage door system.

Colleyville Gates & Garage Doors

6508 Colleyville Blvd, Colleyville, TX 76034, United States

1-817-755-6231

How To Improve Garage Door Security – Colleyville Gates & Garage Doors

Improving Garage Door Repair Colleyville TX security is essential for protecting your home, belongings, and loved ones from potential threats. A secure garage door deters burglars and enhances overall safety.

Here’s a comprehensive guide on how to improve garage door security:

Step 1: Evaluate Current Security Measures

  1. Assess the Door Material: Determine the material of your garage door. Some materials, like solid wood or metal, offer better security than lightweight materials.
  2. Check Locking Mechanisms: Inspect the locking mechanisms of your garage door. Ensure that the locks are working properly and provide effective protection.
  3. Examine Door Integrity: Check for any signs of wear, damage, or gaps around the door. Address any issues to maintain the door’s structural integrity.

Step 2: Reinforce Garage Door Security

  1. Upgrade Locks: Replace standard locks with high-security locks specifically designed for garage doors. Consider adding a deadbolt lock for an extra layer of protection.
  2. Install a T-handle Lock: Install a T-handle lock on the inside of the garage door. This lock prevents the door from being lifted even if the opener is compromised.
  3. Use a Zip Tie or C-Clamp: If you’re leaving town or won’t be using the garage for an extended period, use a zip tie or a C-clamp to secure the emergency release mechanism. This prevents burglars from using the release to open the door.
  4. Consider a Smart Lock: Install a smart lock that can be controlled remotely through a smartphone app. Smart locks offer convenience and allow you to monitor and control access.

Step 3: Secure Garage Door Opener

  1. Upgrade to Rolling Code Opener: Invest in a garage door opener with rolling code technology. Rolling codes change every time the opener is used, making it difficult for thieves to replicate the code.
  2. Change the Default Code: If your opener has a keypad, change the default access code to a personalized one. Avoid using easily guessable codes like birthdates or addresses.
  3. Use Home Automation: Integrate your garage door opener with a home automation system. This enables you to monitor and control your garage door remotely.
  4. Secure Opener Remotes: Don’t leave garage door opener remotes in your car. Consider using a keychain remote or a smartphone app for remote access.

Step 4: Improve Lighting and Visibility

  1. Install Motion-Activated Lights: Install motion-activated lights above the garage door and around the garage area. Adequate lighting deters burglars and makes it difficult for them to approach unnoticed.
  2. Trim Landscaping: Trim bushes and shrubs near the garage to eliminate potential hiding spots for intruders.

Step 5: Secure Garage Windows

  1. Use Impact-Resistant Glass: If your garage has windows, replace regular glass with impact-resistant glass or reinforce them with security film.
  2. Install Window Bars: Consider installing bars or grilles over garage windows to prevent access through them.

Step 6: Reinforce the Garage Door

  1. Add Bracing Kits: Install garage door bracing kits that add structural support to the door, preventing it from bending or breaking during a break-in attempt.
  2. Secure Emergency Release: Secure the emergency release mechanism with a zip tie or a shield. This prevents burglars from using a coat hanger to release the door.
  3. Install a Reinforced Frame: Strengthen the door frame and the surrounding structure to prevent the door from being kicked in.

Step 7: Implement Security System Integration

  1. Connect to Home Security System: Integrate your garage door security with your home security system. Any breach can trigger an alert and notify you or a security company.
  2. Use Security Cameras: Install security cameras in and around the garage to monitor activity and record potential threats.

Step 8: Regular Maintenance

  1. Inspect and Maintain: Regularly inspect your garage door, its components, and locks for signs of wear or damage. Replace worn-out parts and address issues promptly.

Step 9: Consider Professional Help

  1. Consult Experts: If you’re unsure about any step or want the highest level of security, consult professionals. Garage door technicians, locksmiths, and security experts can provide tailored advice.

Step 10: Create a Security Mindset

  1. Educate Family Members: Make sure all family members are aware of security measures and protocols, including locking the garage door and not leaving remotes in vehicles.

By following these steps, you can significantly enhance the security of your Garage Door Repair Colleyville TX and protect your home from potential threats. Remember that a combination of physical security measures, technology, and awareness contributes to a comprehensive garage door security strategy.

Colleyville Gates & Garage Doors

6508 Colleyville Blvd, Colleyville, TX 76034, United States

1-817-755-6231

Garage Door Opener Belt vs. Chain Drive: Comparing Noise and Durability – Colleyville Gates & Garage Doors

As a homeowner who cherishes the serene ambiance of my living space, every element that contributes to its harmony holds significant value. Among these, the garage door opener emerged as a crucial consideration—a silent partner in the daily rhythm of my home. Determined to strike the perfect balance between functionality, noise level, and durability, I embarked on a journey to compare two prominent options: the belt drive and chain drive garage door openers. Guided by insights from seasoned professionals, I embarked on a mission to unravel the secrets behind noise and durability associated with each choice.

By following Garage Door Near Me, let’s dive deep into this illuminating comparison, shedding light on the distinctive qualities of belt and chain drive garage door openers, and their profound impact on shaping a tranquil and enduring home environment.

1. The Quest for Serenity: The Influence of Noise Levels

My exploration into the realm of garage door openers began with a fervent desire for tranquility. Industry experts wasted no time in impressing upon me the undeniable link between a garage door opener’s choice and the noise levels it produces within the home. This revelation immediately thrust noise and its impact into the forefront of my considerations.

2. Belt Drive Opener: The Symphony of Silence

The belt drive opener, I discovered, was the embodiment of elegance in quiet operation. Its mechanism involves a supple rubber or synthetic belt guiding the door along its track, resulting in a remarkably hushed movement. The precision behind this design left me in awe—minimized vibrations and noise seemed to be the hallmarks of its performance.

3. Chain Drive Opener: The Stalwart Defender

In contrast, the chain drive opener unveiled its role as a steadfast workhorse in the world of garage door mechanics. This design relies on a resilient metal chain to hoist and lower the door. While its reputation for durability was well-known, I couldn’t ignore the trade-off—the mechanical movement of the chain translated to a higher noise level during operation.

4. Noise Comparison: Decibels and Dissonance

A pivotal aspect of my comparison journey involved delving into the noise levels generated by belt and chain drive openers. Experts succinctly educated me that belt drive openers operated at markedly lower decibel levels compared to their chain drive counterparts. The implications were striking—a quieter living environment, a haven of peace and tranquility, all thanks to the choice of opener.

5. Crafting the Choice: A Medley of Factors

Crafting a decision between belt and chain drive openers, I realized, required a thoughtful consideration of multiple factors. Homes where minimizing noise disruption was paramount would likely find belt drive openers immensely appealing, especially if living spaces or bedrooms abutted the garage. Meanwhile, homeowners with detached garages or a higher noise tolerance might lean towards the durability and steadfastness offered by chain drive openers.

6. Durability: The Endurance Test

My exploration deepened as I delved into the aspect of durability—the ability of these openers to withstand the test of time. Chain drive openers showcased their tenacity, with their robust chain mechanism guaranteeing prolonged performance even in the face of challenging weather conditions.

7. Belt Drive Opener Durability: A Revelation

However, the journey of discovery had its surprises. Belt drive openers, it turned out, were no slouch in the durability department either. The materials employed, such as reinforced rubber or steel-reinforced belts, were meticulously designed to stand up to the rigors of time and deliver consistent, reliable performance.

8. Sustaining Durability: The Role of Care

A recurring theme emerged—the importance of regular maintenance to sustain the durability of both belt and chain drive openers. Proper lubrication, periodic inspections, and addressing minor issues promptly emerged as key practices to ensure the longevity of either opener type.

9. Striking the Perfect Chord: Finding Equilibrium

In the end, the choice between a belt drive and chain drive opener was about striking the perfect chord between noise and durability. Belt drive openers appeared to excel in providing a peaceful living environment, making them an appealing choice for those who hold tranquility dear. On the flip side, chain drive openers showcased their reliability and ruggedness, making them a preferred option for homeowners seeking a robust and enduring solution.

10. Guided by Experts: Tailoring the Decision

In conclusion, based from Garage Door Near Me and my comparison of belt and chain drive garage door openers has been an enlightening journey, a quest for the ideal blend of silence and sturdiness. Insights shared by industry professionals have fortified my understanding of the dynamics between these two options. By seeking guidance from the experts, homeowners like me can craft a choice that aligns seamlessly with our unique preferences, transforming our garage door opener into a harmony conductor, orchestrating the perfect blend of tranquility and resilience within our cherished abode. As I reflect on this voyage, I’m reminded that the decision to opt for a belt or chain drive opener is an intimate one—a decision that marries seamlessly with the symphony of our individual desires and aspirations for our home sanctuary.

Colleyville Gates & Garage Doors

6508 Colleyville Blvd, Colleyville, TX 76034, United States

817-755-6231

Where to Buy Garage Door Window Inserts-Colleyville Garage Door and Gates

Garage Door Repair Colleyville TX window inserts are a great way to improve the appearance of your garage and let more natural light in.

If you’re looking to buy garage door window inserts, there are several options available to you.

  1. Online Retailers:

One of the most convenient ways to purchase garage door window inserts is to look for them online. There are several online retailers that offer a wide range of garage door window inserts to choose from. Some of the popular online retailers that offer garage door window inserts include Amazon, Home Depot, Lowes, and Walmart.

When looking for garage door window inserts online, it’s important to consider the dimensions of your garage door, the type of window insert you want, and the price range that you’re comfortable with. You can also read reviews from other customers to get an idea of the quality and durability of the product.

  1. Local Home Improvement Stores:

If you prefer to see the garage door window inserts in person before you make a purchase, you can visit your local home improvement store. Home Depot and Lowes are popular home improvement stores that offer a wide range of garage door window inserts.

When visiting the store, it’s important to bring the measurements of your garage door with you to ensure that you choose the correct size of window insert. You can also speak with a sales associate who can help you choose the best window insert for your garage door.

  1. Garage Door Installation Companies:

Another option for purchasing garage door window inserts is to contact a garage door installation company. These companies typically offer a range of garage door accessories, including window inserts.

When contacting a garage door installation company, it’s important to ask about the types of window inserts they offer, the installation process, and the cost. You can also ask for references or read reviews from other customers to ensure that you’re choosing a reputable company.

  1. DIY Options:

If you’re handy and enjoy DIY projects, you can also make your own garage door window inserts. This option can be more cost-effective, and it allows you to customize the window inserts to your liking.

To make your own garage door window inserts, you’ll need to purchase clear acrylic sheets, a jigsaw, a drill, and screws. You can measure the size of your garage door windows, cut the acrylic sheets to size using the jigsaw, and drill holes to attach the sheets to the garage door.

  1. Custom Orders:

Finally, if you have a specific design or size in mind that you can’t find at a store or online, you can also place a custom order for garage door window inserts. Several companies specialize in creating custom garage door window inserts, including Artistic Doors Inc. and Coach House Accents.

When placing a custom order, you’ll need to provide the specifications for the window insert, including the size and design. The company will then create a custom window insert that fits your garage door and matches your style preferences.

In conclusion, there are several options available when it comes to buying Garage Door Repair Colleyville TX window inserts. You can choose to purchase them online, visit a local home improvement store, contact a garage door installation company, make your own, or place a custom order. Regardless of which option you choose, garage door window inserts are an excellent way to enhance the appearance and functionality of your garage.

Colleyville Garage Door and Gates

Colleyville Doors and Gates
102 Williamsburg Ct Suit 1C
Colleyville, TX 76034

817-904-4816

How to Seal Garage Door Sides and Top – Colleyville Door and Gates

A properly sealed Garage Door Repair Colleyville TX can help to keep out the elements, prevent drafts, and improve energy efficiency.

In this guide, we will provide step-by-step instructions for sealing the sides and top of a Garage Door Repair Colleyville TX.

Tools and Materials Needed:

  • Measuring tape
  • Caulk gun
  • Caulking
  • Weatherstripping
  • Utility knife
  • Screwdriver
  • Nails or screws

Step 1: Measure the Garage Door Before you begin sealing your garage door, you need to measure the sides and top of the door. This will help you determine how much weatherstripping and caulking you will need.

Step 2: Clean the Garage Door Before applying any weatherstripping or caulking, you need to clean the garage door. Use a cleaning solution and a cloth or sponge to remove any dirt, debris, or grease from the door. This will ensure that the weatherstripping and caulking adhere properly.

Step 3: Apply Caulk to the Top of the Garage Door Starting at the top of the garage door, use a caulking gun to apply a generous bead of caulking along the entire length of the door. Smooth the caulking with a wet finger or a caulking tool. This will help to seal any gaps between the door and the frame.

Step 4: Install Weatherstripping on the Top of the Garage Door After the caulking has dried, install weatherstripping on the top of the garage door. Cut the weatherstripping to the length of the door and press it firmly into place. Use a screwdriver to secure the weatherstripping in place with nails or screws.

Step 5: Apply Caulk to the Sides of the Garage Door Starting at the top of one side of the garage door, use a caulking gun to apply a bead of caulking along the entire length of the door. Smooth the caulking with a wet finger or a caulking tool. Repeat this process for the other side of the door.

Step 6: Install Weatherstripping on the Sides of the Garage Door After the caulking has dried, install weatherstripping on the sides of the garage door. Cut the weatherstripping to the length of the door and press it firmly into place. Use a screwdriver to secure the weatherstripping in place with nails or screws.

Step 7: Test the Garage Door After you have sealed the sides and top of the garage door, test the door to make sure it is working properly. Open and close the door several times to ensure that the weatherstripping is not interfering with the operation of the door.

Step 8: Inspect the Garage Door Regularly To ensure that your garage door remains properly sealed, it is important to inspect it regularly. Check the caulking and weather-stripping for signs of wear or damage and replace them as needed.

Conclusion:

Sealing the sides and top of a garage door is an important step in improving energy efficiency and keeping out the elements. By following these simple steps, you can ensure that your garage door is properly sealed and functioning at its best. Remember to inspect the door regularly to ensure that it remains properly sealed.

Colleyville Door and Gates

817-904-4816

Powered by WordPress & Theme by Anders Norén