Local Businesses Blog in Texas

Tag: garage door repair springtown tx

How Many Satchel Charges for A Garage Door – Springtown Gates & Garage Doors

Springtown Garage Door Repair, often the first line of defense for our vehicles and belongings, come in various shapes and sizes.

When it comes to breaching them, especially in scenarios requiring swift and effective action, satchel charges become a consideration. In this article, we’ll delve into the nuances of using satchel charges on garage doors, exploring the factors that influence the number of charges needed for a successful breach.

Understanding Garage Door Structures

Garage doors aren’t one-size-fits-all. Understanding the type of door you’re dealing with is crucial. Single-panel, roll-up, and sectional garage doors each present unique challenges and opportunities for breaching.

Factors Influencing Satchel Charge Requirements

The material, thickness, and overall durability of a garage door play a significant role in determining how many satchel charges are needed. A reinforced metal door will demand more explosive force than a wooden one.

Recommended Satchel Charges for Common Garage Doors

Let’s get practical. For a single-panel garage door, you might need X charges, while a roll-up door could require Y. We’ll break down the specifics for each type, offering a practical guide for users.

Safety Precautions

Before you embark on a mission to breach a garage door, safety should be paramount. From proper gear to understanding potential risks, we’ll walk you through how to handle satchel charges responsibly.

Step-by-Step Guide: How to Use Satchel Charges

Detail is key. We’ll provide a step-by-step guide on the proper placement and detonation of satchel charges. Following this guide ensures not just success but also minimizes risks.

Common Mistakes to Avoid

In the heat of the moment, errors can happen. We’ll highlight common mistakes, from misplacing charges to underestimating the force needed, helping you avoid potential mishaps.

Alternative Methods for Garage Door Breaching

While satchel charges are effective, are there alternative methods? We’ll explore other options, weighing their pros and cons against the reliability and efficiency of satchel charges.

Legal Considerations

Breaching a garage door isn’t just about getting the job done; it’s about doing it legally. We’ll touch on the legal aspects, from local laws to necessary permits, ensuring you stay on the right side of the law.

: Successful Garage Door Breaching

Real-world examples add weight to theory. We’ll share case studies of successful garage door breaches using satchel charges, illustrating their practical application.

Conclusion:

In the world of breaching Springtown Garage Door Repair, precision and knowledge are your allies. By understanding the dynamics of different doors, the influence of materials, and the proper use of satchel charges, you equip yourself for success while prioritizing safety.

Springtown Gates & Garage Doors

104 Adalida Ln, Springtown, TX 76082, United States

1-817-631-1036

How Many Rockets For A Garage Door – Arlington Overhead & Garage Doors

Rocketry and Garage Doors Repair Arlington TX might seem like an odd combination at first glance, but in the realm of creativity and imagination, anything is possible.

Picture this: a sleek, futuristic garage door powered not by conventional methods, but by the sheer force and propulsion of rockets. Strap in as we delve into the speculative world where engineering meets eccentricity.

The concept of using rockets to open and close garage doors is undoubtedly novel, prompting us to question both the feasibility and the sheer audacity of such an idea. To comprehend the dynamics of this out-of-this-world garage door, we must first explore the basics of rocketry and how it could be harnessed for domestic convenience.

Rockets operate on the principle of Newton’s third law of motion—every action has an equal and opposite reaction. In the context of a garage door, this would mean that the force generated by the rocket’s propulsion would result in a reaction, in this case, the upward movement of the door. The choice of rockets becomes a critical factor, considering factors such as thrust, burn time, and overall safety.

Let’s break down the components needed for a rocket-powered garage door:

  1. Rocket Selection:
    • The type of rockets chosen would depend on the weight and size of the garage door. Larger, heavier doors would require more powerful rockets to achieve the desired lift.
  2. Thrust-to-Weight Ratio:
    • Calculating the thrust-to-weight ratio is crucial for ensuring that the rockets can lift the garage door effectively. Too much thrust could result in a door that shoots into the sky, while too little might leave the door stuck.
  3. Guidance System:
    • Implementing a guidance system becomes essential to control the trajectory of the door. Precision is key to avoid any unintended consequences, and the guidance system would need to account for variables such as wind resistance.
  4. Safety Measures:
    • Rocket-powered garage doors raise significant safety concerns. Robust safety mechanisms, emergency shutdown procedures, and fail-safes would be imperative to prevent accidents and ensure user well-being.
  5. Fuel Considerations:
    • The type of fuel used in the rockets would impact performance and safety. Environmentally friendly options might be preferable for a residential setting.

Now, let’s consider the sheer spectacle of a garage door propelled by rockets. Picture a quiet suburban neighborhood, where, with the push of a button, a garage door doesn’t simply roll up but majestically ascends into the sky, leaving bystanders in awe.

However, the practicality of such a system raises numerous questions. Would rocket fuel become a household commodity? How would regulatory bodies respond to individuals having rocket-powered structures in residential areas? What about the carbon footprint and environmental impact?

In conclusion, the idea of a rocket-powered Garage Doors Repair Arlington TX sparks the imagination and challenges our conventional notions of home infrastructure. While the concept is undeniably intriguing, the practical implementation would require careful consideration of safety, regulations, and the sheer audacity of launching garage doors into the stratosphere.

Arlington Overhead & Garage Doors

817 – 646 – 2532

How Much Does It Cost To Fix A Garage Door – Springtown Gates & Garage Doors

 Garage Door Repair Springtown TX costs can vary widely depending on the extent of the damage, the type of garage door, and the parts that need replacement.

On average, homeowners can expect to pay anywhere from $125 to $290 for garage door repairs. However, this is just a general estimate, and the actual cost can be higher or lower based on several factors.

The first factor to consider is the type of repair needed. Common garage door issues include broken springs, damaged panels, malfunctioning openers, and misaligned tracks. Each of these problems requires a different set of skills and materials to fix, influencing the overall cost.

Broken springs are a frequent issue and can cost between $50 to $300 to repair, depending on the type of spring and whether one or both need replacement. Damaged panels may require panel replacement, which can cost around $150 to $400 per panel. If the garage door opener is malfunctioning, repair costs can range from $100 to $300.

Labor costs also play a significant role in the overall expense. Garage door repair professionals typically charge an hourly rate, ranging from $50 to $100 per hour. The complexity of the repair job and the time required for completion will impact the final labor cost.

Additionally, the cost of replacement parts must be considered. The price of replacement parts such as springs, cables, rollers, and sensors can vary based on the brand and quality. Higher quality parts may cost more initially but can contribute to the longevity and durability of the repair.

If the repair job involves fixing an automatic garage door opener, the cost of a new opener can range from $150 to $500, depending on the features and brand. Installation costs may be additional.

In some cases, it might be more cost-effective to replace the entire garage door, especially if the door is old or extensively damaged. New garage doors can range from $600 to $4,000 or more, depending on the material, style, and features.

It’s essential to obtain multiple quotes from reputable garage door repair companies to get a more accurate estimate for your specific situation. Keep in mind that emergency repairs or repairs needed during weekends or holidays may incur additional charges.

In conclusion, the cost to fix a Garage Door Repair Springtown TX can vary significantly based on the type of repair needed, labor costs, and the price of replacement parts. Homeowners should be prepared to budget anywhere from $125 to $500 or more for common garage door repairs, with the understanding that more extensive repairs or replacements can result in higher costs

Springtown Gates & Garage Doors

104 Adalida Ln, Springtown, TX 76082, United States

1-817-631-1036

How To Program Garage Door Remote – Springtown Gates & Garage Doors

Garage Door Repair Springtown TX remotes make life more convenient, allowing you to open and close your garage door with just a click of a button. Here’s a comprehensive guide on how to program a garage door remote:

1. Identify Your Garage Door Opener Model:

  • Locate the manufacturer and model number of your garage door opener. This information is crucial as different models may have unique programming procedures.

2. Gather Necessary Materials:

  • Ensure you have the remote control, a ladder, and a clear view of the garage door opener’s motor unit.

3. Access the Garage Door Opener Motor Unit:

  • Use a ladder to reach the motor unit on the ceiling of your garage. The unit typically has a cover that can be removed to reveal the programming buttons.

4. Locate the Learn Button:

  • Find the “Learn” or “Program” button on the motor unit. This button is usually located near the antenna wire.

5. Clear Existing Codes (If Necessary):

  • If this is a new remote or you’re reprogramming an old one, it’s advisable to clear existing codes. Press and hold the “Learn” button until the indicator light blinks, indicating that the memory is cleared.

6. Press the Learn Button:

  • Press the “Learn” button on the motor unit and release it. The indicator light should illuminate, indicating that the unit is ready to learn a new remote code.

7. Program the Remote:

  • Press and hold the button on the remote you want to program. After a few seconds, the indicator light on the motor unit should flash, signifying successful programming.

8. Test the Remote:

  • Stand clear of the garage door and press the programmed button on the remote. The door should respond by either opening or closing. If not, repeat the programming process.

9. Repeat for Multiple Remotes:

  • If you have additional remotes, repeat the process for each one, ensuring that all remotes are programmed to the garage door opener.

10. Final Checks:

  • Test each remote to ensure they all work correctly. If any issues arise, consult your garage door opener’s manual or customer support for troubleshooting.

11. Secure the Motor Unit:

  • Once all remotes are programmed and working correctly, secure the motor unit’s cover back in place.

Conclusion:

  • Programming a garage door remote is a straightforward process that varies slightly depending on the garage door opener model. Always refer to your opener’s manual for specific instructions and troubleshooting tips.

Remember, safety is paramount during this process. If you encounter difficulties or uncertainties, consult a professional Garage Door Repair Springtown TX technician for assistance.

Springtown Gates & Garage Doors

104 Adalida Ln, Springtown, TX 76082, United States

1-817-631-1036

How Professional Garage Door Inspections Can Save You Money? – Springtown Gates & Garage Doors

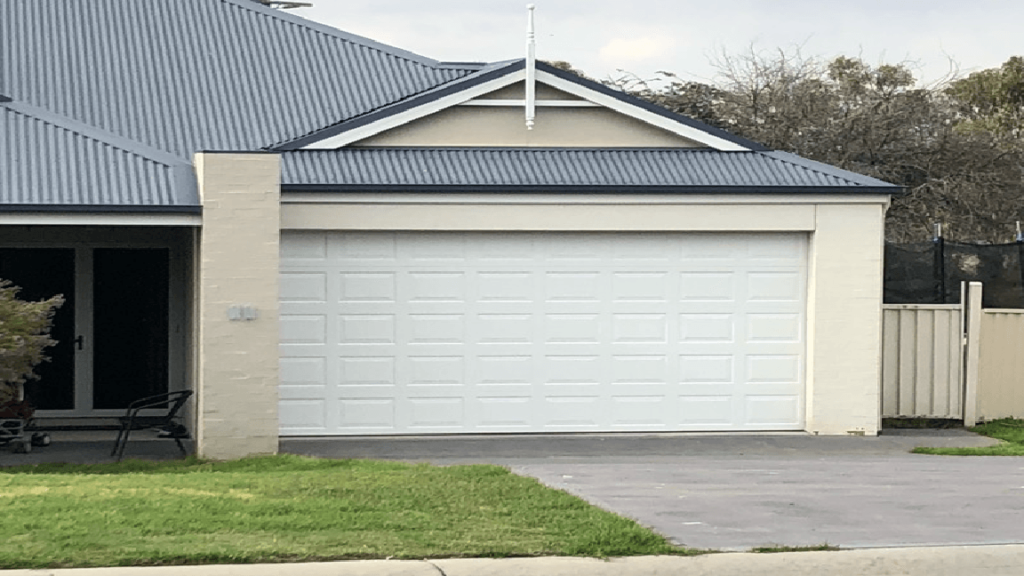
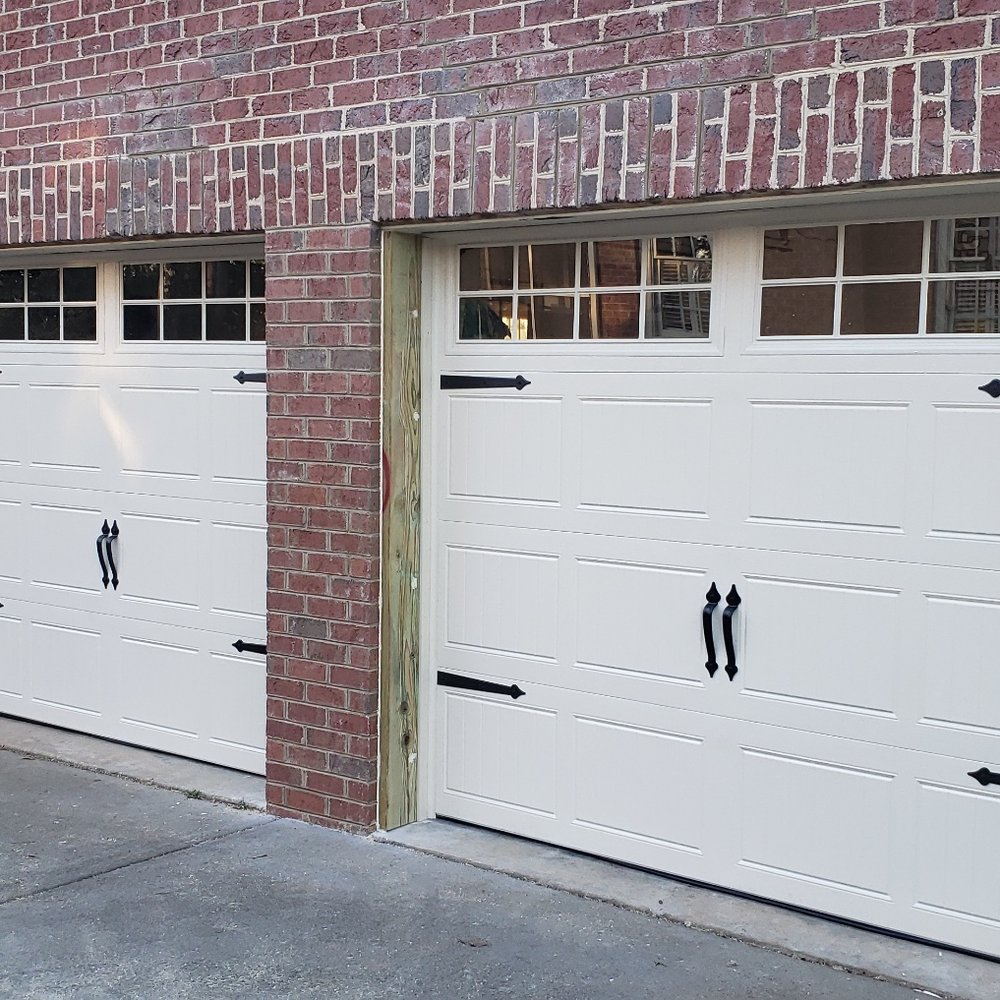
As a homeowner, I’ve always had a keen eye for ways to save money while ensuring the safety and longevity of my property. One aspect of home maintenance that I’ve come to appreciate is the role of professional garage door inspections in achieving these goals. Over the years, I’ve realized that investing in regular inspections by qualified technicians not only enhances the reliability and safety of my garage door but also saves me money in the long run.

In this article, I’ll discuss how professional garage door inspections have proven to be a smart financial decision according to the experts from Springtown Gates & Garage Doors.

1. Early Detection of Issues

One of the primary ways professional garage door inspections save money is by catching issues early. Like any mechanical system, garage doors are susceptible to wear and tear over time. However, if problems are left unaddressed, they can escalate into more significant and costly repairs or replacements.

During a professional inspection, trained technicians thoroughly examine the various components of the garage door system, including springs, cables, rollers, tracks, and the opener. They look for signs of wear, damage, or misalignment. By identifying issues in their early stages, technicians can recommend timely repairs or maintenance.

My Experience: During a routine inspection, the technician noticed that one of the garage door springs was showing signs of wear and had a few small cracks. They replaced the spring, preventing a potential breakage that could have resulted in a more costly emergency repair or damage to other components.

2. Preventing Costly Emergency Repairs

Emergency repairs often come with a higher price tag due to the urgency and inconvenience they entail. When a garage door suddenly fails to open or close, it can disrupt your daily routine and lead to additional expenses.

Regular professional inspections are proactive in nature, addressing minor issues before they escalate into emergencies. By addressing problems during scheduled inspections, you can avoid the inconvenience and added costs associated with emergency garage door repairs.

My Experience: I recall a situation where my garage door opener failed to respond on a busy weekday morning when I needed to leave for work. An emergency repair call was not only expensive but also caused delays. Since then, I’ve prioritized regular inspections to prevent such situations.

3. Extending the Lifespan of Components

Each component of a garage door system has a finite lifespan. The springs, cables, rollers, and other parts undergo stress and wear with every use. However, with proper maintenance and timely replacements, you can extend the lifespan of these components, ultimately saving money by delaying the need for costly replacements.

My Experience: By replacing worn-out rollers and ensuring that the springs and cables were well-maintained, I managed to prolong the life of these critical components. This not only saved me money on immediate replacements but also reduced the frequency of repairs.

4. Minimizing Operational Costs

An efficient and well-maintained garage door system operates more smoothly and with less strain on its components. This translates to lower energy consumption and less wear and tear, ultimately reducing operational costs.

My Experience: After a professional inspection and maintenance, I noticed that my garage door operated more quietly and smoothly. This indicated that it was working more efficiently, which in turn led to a reduction in my energy bills.

5. Preventing Property Damage

A malfunctioning garage door can cause property damage beyond the door itself. For instance, if the door closes unexpectedly due to a faulty safety sensor, it can damage vehicles or other belongings in the garage. By ensuring the proper functioning of safety features during inspections, you can prevent such costly accidents.

My Experience: I once experienced a situation where a malfunctioning safety sensor caused my garage door to close unexpectedly and dent my car. The repair costs for both the door and the car were substantial. Since then, I’ve understood the value of regular safety checks during inspections.

6. Enhancing Security

A garage door that doesn’t function correctly can compromise the security of your home. An inspection by a professional ensures that all security features, such as remote control programming, safety sensors, and locks, are in working order. This safeguards your property and prevents potential break-ins or theft.

My Experience: During an inspection, the technician identified a vulnerability in my garage door’s remote control system that could have been exploited by potential intruders. They provided guidance on enhancing security, preventing the need for costly security system upgrades.

7. Avoiding DIY Mistakes

Attempting to diagnose and fix garage door issues without the necessary knowledge and expertise can lead to costly mistakes. DIY repairs may not only fail to resolve the problem but can also cause further damage, ultimately resulting in higher repair costs.

My Experience: I once attempted to repair a garage door spring myself, thinking it would save me money. Instead, I ended up causing additional damage, which necessitated professional repairs. The cost of fixing my DIY mistakes was higher than if I had initially hired a professional.

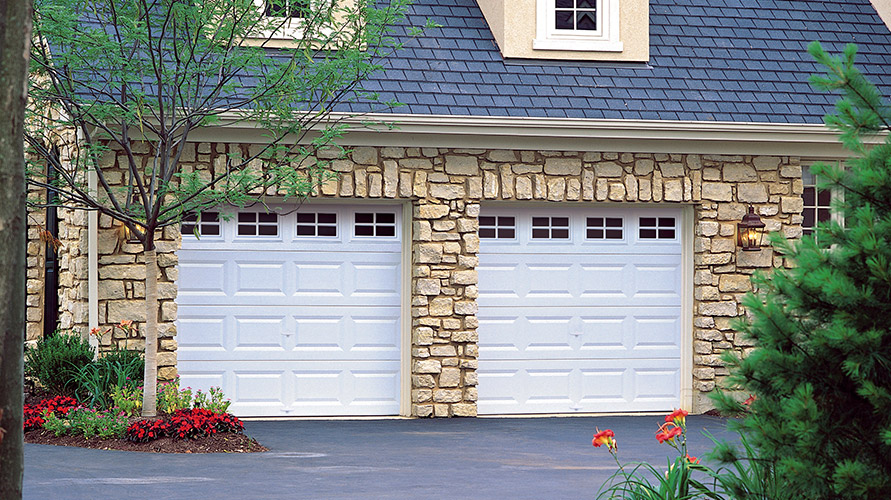
8. Preserving Home Value

A well-maintained garage door contributes to the overall curb appeal and value of your home. When you eventually decide to sell your property, a garage door in good condition can attract potential buyers and justify a higher asking price.

My Experience: Having invested in regular professional inspections and maintenance, I’ve maintained the aesthetic appeal of my garage door. This has had a positive impact on the overall value of my home and made it more appealing to potential buyers.

Conclusion

From my first-person perspective as a homeowner, professional garage door inspections have proven to be a wise financial decision. These inspections not only address issues early but also prevent costly emergency repairs, extend the lifespan of components, and minimize operational costs. Moreover, they safeguard against property damage, enhance security, and preserve home value.

Overall, based from Springtown Gates & Garage Doors, rather than viewing professional garage door inspections as an additional expense, I now see them as a smart investment that pays off in the long run. They provide peace of mind, knowing that my garage door is in optimal condition and that I’m not only saving money but also ensuring the safety and convenience of my home.

Springtown Gates & Garage Doors

104 Adalida Ln, Springtown, TX 76082, United States

817-631-1036

How to Program Genie Garage Door Opener – Springtown Gates & Garage Doors

Programming a Genie Garage Door Repair Springtown, TX is a straightforward process that typically involves a few simple steps. To ensure a successful setup, follow these instructions carefully.

In this guide, we’ll cover the process for programming a Genie garage door opener with a Genie Intellicode remote control.

Before you begin:

  1. Make sure your garage door opener is powered on and functioning correctly.
  2. Locate the “Learn” or “Program” button on your Genie garage door opener motor unit. This button is usually found near the antenna wire or on the back of the unit. It may also be labeled as “Set,” “Smart,” or something similar.
  3. Ensure you have a Genie Intellicode remote control ready for programming. If you don’t have one, you can purchase a compatible remote from a Genie dealer or online.

Now, let’s proceed with programming your Genie garage door opener:

: Clear Existing Codes (if needed)

If you are reprogramming a new remote or experiencing issues with existing remote controls, you may need to clear the opener’s memory to start fresh. To do this:

  1. Press and hold the “Learn” or “Program” button on the garage door opener motor unit for about 10 seconds. The LED light on the motor unit will turn off, indicating that all codes have been erased.

: Locate the “Learn” Button on the Opener

Find the “Learn” or “Program” button on your Genie garage door opener. It is essential to know where this button is located, as you will need to press it during the programming process.

: Program the Remote Control

Follow these steps to program your Genie Intellicode remote control:

  1. Press and release the “Learn” or “Program” button on the garage door opener motor unit. The LED light on the motor unit will begin to flash, indicating that it’s ready to learn a new code.
  2. Within 30 seconds, press and release the button on your Genie Intellicode remote control that you want to program. This should be done within close proximity to the motor unit.
  3. The LED light on the motor unit should flash or blink rapidly to indicate that it has successfully learned the code from the remote control.
  4. Test the remote control by pressing the programmed button. The garage door should respond by opening or closing. If it doesn’t work, repeat the programming process, ensuring you complete each step correctly.

: Program Additional Remote Controls (if needed)

If you have multiple Genie Intellicode remote controls you want to program, follow the same process for each remote. You can usually program several remotes to work with the same garage door opener.

: Test the Garage Door

After programming all desired remote controls, test each one to ensure they open and close the garage door as expected. Make sure they are working correctly from different locations to ensure optimal functionality.

: Secure the Remote Control

Keep your Genie Intellicode remote control in a safe place to prevent unauthorized access to your garage. If your remote control is lost or stolen, you can repeat the programming steps to add a new remote while erasing the lost one from memory.

In conclusion, programming a Genie Garage Door Repair Springtown, TX involves clearing existing codes (if necessary), locating the “Learn” button, and programming your Genie Intellicode remote control following a simple series of steps. By following these instructions, you should be able to set up your Genie garage door opener efficiently and enjoy secure and convenient access to your garage.

Springtown Gates & Garage Doors

104 Adalida Ln, Springtown, TX 76082, United States

1-817-631-1036

How To Assemble A Garage Door – Springtown Gates & Garage Doors

Assembling a Springtown Gates & Garage Doors involves several steps to ensure that the door is properly constructed, aligned, and ready for installation. Whether you’re assembling a sectional garage door or another type, careful attention to detail is essential to ensure the door’s functionality and longevity.

Here’s a comprehensive guide to help you understand how to assemble a garage door:

Materials and Tools You’ll Need:

  • Garage door sections and panels
  • Door tracks and hardware
  • Roller brackets and rollers
  • Hinges and screws
  • Bottom seal
  • Step ladder
  • Measuring tape
  • Level
  • Screwdriver or drill
  • Wrenches
  • Assistant (if needed)

Step-by-Step Guide to Assembling a Garage Door:

1. Verify Parts and Materials:
Before you begin, ensure that you have all the necessary parts, including the garage door sections, tracks, hardware, and other components. Check the manufacturer’s instructions and the packaging to confirm that you have everything you need.

2. Assemble the Sections:
If your garage door is made up of individual sections or panels, follow these steps to assemble them:

  • Lay out the sections in the correct order, following the manufacturer’s instructions.
  • Attach the hinges to the designated locations on each section. Use the provided screws and a screwdriver or drill.
  • Ensure that the hinges are aligned properly and securely attached to each section.

3. Install Roller Brackets:
Attach the roller brackets to the top of each section. The roller brackets will hold the rollers that allow the door to move along the tracks.

4. Attach Rollers:
Insert rollers into the roller brackets. Make sure the rollers move freely and smoothly within the brackets.

5. Install Bottom Seal:
Attach the bottom seal to the bottom of the garage door sections. The seal helps keep out debris and drafts. Follow the manufacturer’s instructions for proper installation.

6. Install Tracks:
Follow these steps to install the tracks for the garage door:

  • Attach the vertical tracks to the sides of the door frame, using a level to ensure they are plumb.
  • Attach the horizontal tracks to the ceiling, making sure they are level and parallel to each other.

7. Hang the Door Sections:
With the tracks in place, it’s time to hang the door sections. This step may require an assistant to help hold the sections in position.

  • Lift the first section into the vertical tracks and insert the rollers into the track. Use the track’s attachment hardware to secure the section in place.
  • Repeat this process for each section, connecting them together using the hinges.

8. Install Springs and Cables:
If your garage door has torsion springs, follow the manufacturer’s instructions to install them. Springs are under tension and can be dangerous, so exercise caution and consider seeking professional assistance if needed.

9. Test Door Movement:
Open and close the door manually to ensure that it moves smoothly along the tracks. Check for any binding or sticking points.

10. Adjust and Level:
Use a level to ensure that the door is properly aligned and level. Make any necessary adjustments to the tracks, rollers, and brackets to ensure even movement.

11. Attach Hardware:
Attach any remaining hardware, such as handles, locking mechanisms, and opener brackets, according to the manufacturer’s instructions.

12. Lubricate Moving Parts:
Before final installation, apply garage door lubricant to the rollers, hinges, tracks, and other moving parts to ensure smooth operation.

13. Test Door Operation:
Operate the garage door manually and check that it opens and closes smoothly and evenly. Make any additional adjustments as needed.

14. Consider Professional Help:
If you’re unsure about any step of the assembly process or if your garage door has complex mechanisms, consider seeking assistance from a professional garage door installer.

Additional Tips:

  • Follow Instructions: Always follow the manufacturer’s instructions for assembling the specific type and model of garage door you have.
  • Safety First: When working with garage door components, prioritize safety. Wear appropriate protective gear, and be cautious when handling parts under tension, such as springs.
  • Proper Tools: Use the right tools for the job, and make sure they are in good working condition.
  • Regular Maintenance: After assembly, periodically inspect and maintain your garage door to ensure its optimal performance and longevity.

Conclusion:

Assembling a Springtown Gates & Garage Doors involves carefully following the manufacturer’s instructions to construct, align, and install the various components. Whether you’re assembling a sectional garage door or another type, each step should be completed with attention to detail and safety. A properly assembled garage door ensures smooth operation, longevity, and reliable functionality for years to come. If you’re uncertain about any aspect of the assembly process, it’s advisable to seek assistance from professionals or consult with the manufacturer.

Springtown Gates & Garage Doors

104 Adalida Ln, Springtown, TX 76082, United States

1-817-631-1036

Garage Door Troubles? Here’s Why You Need a Professional’s Touch – Springtown Gates & Garage Doors

As a homeowner who takes pride in maintaining my property, I recently encountered a frustrating situation that reminded me of the importance of seeking professional help when it comes to garage door troubles. Our garage door, which had always operated smoothly, suddenly started showing signs of malfunction. At first, I thought I could tackle the issue myself, but I quickly realized that the complexities and potential risks involved were beyond my DIY capabilities.

This experience highlighted the numerous reasons why a professional’s touch is essential when dealing with garage door problems based from Garage Door Near Me.

The Intricacies of Garage Door Systems

While a garage door might seem straightforward, it’s actually a system composed of various intricate components. Springs, cables, tracks, rollers, hinges, and openers all work together to ensure seamless operation. Despite my initial confidence in handling repairs, I soon realized that identifying the root cause of the problem required a level of expertise I didn’t possess. Garage door professionals undergo extensive training to understand the workings of these systems, allowing them to accurately diagnose issues and provide effective solutions.

Prioritizing Safety and Mitigating Risks

One of the critical reasons for seeking professional help is safety. Garage doors are heavy and operate under tension, especially due to the presence of springs. My attempt to address the problem without proper knowledge could have led to serious injuries or further damage. Garage door technicians are equipped with specialized tools and know-how to handle potentially hazardous situations safely. They are trained to release tension in springs and handle various components without compromising safety.

For instance, when I learned that a broken spring was contributing to the issue, I realized the potential dangers involved in attempting to replace it myself. Seeking professional assistance ensured that the repair was carried out safely, preventing any accidents or mishaps.

Accurate Diagnoses and Effective Solutions

One of the most frustrating aspects of tackling garage door problems on my own was the difficulty in accurately diagnosing the issue. What initially seemed like a minor misalignment turned out to be a more complex problem that required professional attention. Garage door professionals have the experience and expertise to identify not only the symptoms but also the underlying causes of problems. This accuracy is crucial in ensuring that repairs are effective and prevent recurring issues.

Quality Repairs for Long-Lasting Performance

When faced with a malfunctioning garage door, my initial instinct was to find a quick fix to restore functionality. However, I soon learned that temporary solutions or DIY repairs might provide short-term relief but could lead to more significant problems in the future. Garage door professionals prioritize quality repairs that address the root causes of issues, ensuring the long-term performance and durability of the door.

By opting for professional repairs, I gained confidence in the knowledge that the problem was resolved comprehensively, minimizing the chances of encountering similar troubles down the line. The investment in professional repairs ultimately saved me money and frustration in the long run.

Time and Convenience

As a busy individual, I quickly realized that attempting DIY garage door repairs was consuming valuable time that I could have spent on other priorities. The trial-and-error process, coupled with multiple trips to the hardware store, only added to the frustration. When I decided to enlist the help of a professional garage door technician, I was pleasantly surprised by the efficiency and speed with which the problem was resolved.

Having a professional take care of the repairs not only saved me time but also provided the convenience of a swift and effective solution. I could focus on my daily tasks and responsibilities without the added stress of dealing with a malfunctioning garage door.

Warranty Protection and Expert Recommendations

Garage door manufacturers often provide warranties for their products, but these warranties usually come with conditions. My DIY attempts at repairs could have potentially voided the warranty, leaving me responsible for any future repair costs. By opting for professional repairs, I ensured that the warranty remained intact, offering me the added protection and peace of mind that comes with it.

Additionally, I was pleasantly surprised by the expert recommendations provided by the garage door technician. They not only addressed the immediate problem but also offered insights into potential upgrades and enhancements that could improve the security, energy efficiency, and overall functionality of my garage door system.

My recent experience with a malfunctioning garage door taught me a valuable lesson about the importance of seeking a professional’s touch when dealing with such issues. The complexities of garage door systems, safety considerations, accurate diagnoses, quality repairs, time savings, warranty protection, and potential upgrades are compelling reasons to rely on the expertise of trained garage door professionals.

Overall, as per Garage Door Near Me, when faced with garage door troubles, I strongly recommend reaching out to a reputable and certified garage door technician. Their knowledge, experience, and commitment to safety ensure that your garage door is in capable hands. By choosing a professional approach, you’re investing in the longevity, performance, and convenience of your garage door system, allowing you to enjoy the benefits of a smoothly operating and well-maintained entryway to your home.

Springtown Gates & Garage Doors

104 Adalida Ln, Springtown, TX 76082, United States

817-631-1036

How to Reset Wifi On Liftmaster Garage Door Opener-Springtown Best Garage & Overhead Doors

To reset the Wi-Fi connection on your LiftMaster Garage Door Repair Springtown TX opener, follow these steps:

  1. Identify your garage door opener model: LiftMaster offers various models of garage door openers, and the process for resetting the Wi-Fi connection may differ slightly depending on the model. Refer to your opener’s manual or check the LiftMaster website for specific instructions if needed.
  2. Prepare for the reset: Before resetting the Wi-Fi, make sure you have the necessary information at hand. You’ll typically need your home Wi-Fi network name (SSID) and password.
  3. Locate the “Learn” button: On most LiftMaster garage door openers, you’ll find a small button labeled “Learn” on the opener itself. The button is usually located near the antenna wire or on the back panel.
  4. Clear existing Wi-Fi settings: Press and hold the “Learn” button for approximately six seconds. The LED light on the opener will turn off and then come back on. This action erases any previously stored Wi-Fi information.
  5. Access the Wi-Fi setup mode: After clearing the Wi-Fi settings, press the “Learn” button again. This time, instead of holding it, simply press and release it. The LED light should begin flashing, indicating that the opener is in Wi-Fi setup mode.
  6. Connect to the opener’s Wi-Fi network: On your mobile device or computer, open the Wi-Fi settings and look for the Wi-Fi network associated with your LiftMaster opener. The network name should be similar to “LiftMaster-XXXX,” with “XXXX” representing a unique identifier for your opener.
  7. Join the opener’s Wi-Fi network: Select the Wi-Fi network corresponding to your opener and enter the password if prompted. The password is typically provided in the opener’s manual or on a label attached to the opener itself. Ensure that you’re connecting to the correct network and not a neighboring one with a similar name.
  8. Configure the Wi-Fi settings: Once connected to the opener’s Wi-Fi network, open a web browser and enter “myliftmaster.com” in the address bar. This will direct you to the LiftMaster myQ setup page.
  9. Create or log in to your myQ account: If you already have a myQ account, log in using your credentials. Otherwise, create a new account by providing the required information.
  10. Add your garage door opener: After logging in to your myQ account, select the option to add a new device. Follow the on-screen instructions, which may include providing your opener’s serial number or scanning a QR code on the opener itself. This process will link your opener to your myQ account.
  11. Connect to your home Wi-Fi network: Once your opener is added to your myQ account, the setup process will guide you through connecting your opener to your home Wi-Fi network. Enter your home Wi-Fi network name (SSID) and password when prompted.
  12. Complete the setup: Follow any additional prompts or instructions to finalize the Wi-Fi setup process. Once completed, your LiftMaster garage door opener should be successfully connected to your home Wi-Fi network.
  13. Test the connection: After the setup is complete, check if the Wi-Fi connection is working by using the myQ app or any other method provided by LiftMaster. You should be able to control your garage door opener remotely and receive status notifications on your mobile device.

Remember, these steps are general guidelines, and the specific process may vary depending on your LiftMaster Garage Door Repair Springtown TX opener model. Always consult your opener’s manual or LiftMaster’s official documentation for accurate instructions tailored to your specific model.

Springtown Best Garage & Overhead Doors

205 Ave A, Springtown, TX 76082

817-373-5963

How to Seal Your Garage Door Gap? – Springtown TX Garage Door

Sealing the gap around your garage door is an important step to help prevent drafts, pests, and moisture from entering your garage.

Here are some steps to help you seal the garage door gap based from Garage Door Springtown TX:

  1. Clean the area

Before you start sealing, it’s important to clean the area around the garage door thoroughly. Use a broom or vacuum to remove any dirt or debris from the gap.

  1. Choose the right weather-stripping material

There are several types of weatherstripping materials available, including vinyl, rubber, and foam. Choose the right material for your garage door based on the size of the gap and the climate in your area.

  1. Measure the gap

Measure the width of the gap between the garage door and the frame, and the length of the gap along the sides of the door. This will help you determine how much weatherstripping material you need.

  1. Install bottom seal

Start by installing a bottom seal to fill the gap at the bottom of the garage door. Measure the width of the door and cut the seal to size. Secure the seal to the bottom of the door using screws or adhesive.

  1. Install side weatherstripping

Next, install side weatherstripping along the sides of the garage door. Cut the weatherstripping to size and attach it to the frame of the garage door using screws or adhesive.

  1. Install top weatherstripping

Finally, install top weatherstripping to fill the gap at the top of the garage door. Cut the weatherstripping to size and attach it to the frame of the garage door using screws or adhesive.

  1. Test the seal

Once you have installed the weatherstripping, test the seal by closing the garage door and inspecting the gap. If you can still see gaps, adjust the weatherstripping accordingly.

In conclusion, as stated in Garage Door Springtown TX, sealing the gap around your garage door can help improve energy efficiency, prevent pests from entering your garage, and keep your garage dry and comfortable. By following these steps, you can easily seal the gap and protect your garage from the elements.

Springtown TX Garage Door

205 Ave A, Springtown, TX 76082

817-373-5963

Powered by WordPress & Theme by Anders Norén